
Tools
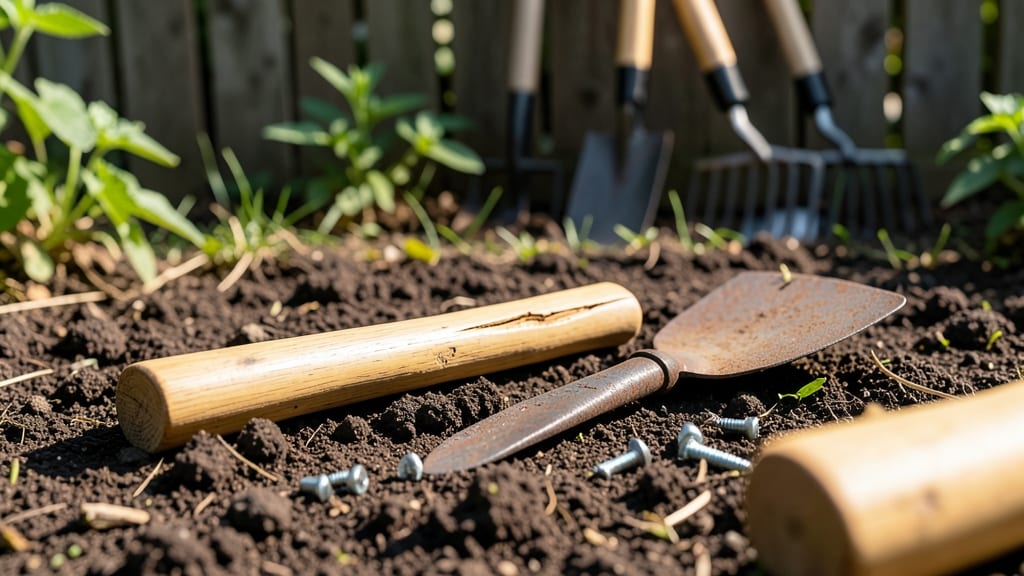
How to identify and prepare for garden hoe handle replacement
A cracked or splintered garden hoe handle can make even simple weeding feel like a Herculean task. Before rushing to the hardware store, take a moment to assess the damage and gather the right tools.
This preparation ensures a smooth replacement process and helps you choose a handle that matches your hoe type and gardening needs.
Start by examining your hoe's handle attachment. Most garden hoes use either a screw-and-washer system, a peg-and-socket design, or a rubber grip sleeve. Identifying this mechanism first saves time when selecting a replacement.
For example, a stirrup hoe often requires a shorter handle than a standard draw hoe, so measure your current handle length before shopping.
Gather these essential tools before beginning: a measuring tape, screwdriver or wrench, wood glue (for wood handles), and sandpaper. If your hoe uses a peg system, you may also need a mallet to tap the handle into place.
Having everything ready streamlines the process and prevents delays mid-replacement.
Now let’s walk through the preparation steps systematically to ensure you’re ready for a seamless replacement.
-
Step 1: Assess Handle Damage
Inspect cracks, splinters, or rot. If the handle is splintered beyond repair, replace it entirely. For minor cracks, consider reinforcing with epoxy resin as a temporary fix. -
Step 2: Measure Current Handle
Use a tape measure to record the total length and grip diameter. Note the attachment type (screw, peg, or sleeve) for accurate replacement selection. -
Step 3: Choose Handle Material
Select from wood (durable, classic), fiberglass (lightweight, rust-resistant), or ergonomic foam (comfortable for long use). Match the material to your hoe type and gardening tasks. -
Step 4: Gather Tools
Collect a screwdriver/wrench, wood glue, sandpaper, and any fasteners included with your new handle. For peg systems, have a mallet ready. -
Step 5: Clear Your Workspace
Lay out your hoe, new handle, tools, and a clean cloth to catch debris. Work in a well-ventilated area if using adhesives or sanding.
When selecting a replacement handle, consider the weight distribution of your hoe. A longer handle provides better leverage for weeding, while a shorter handle offers precision for tasks like transplanting. For heavy-duty work, opt for a hardwood handle like ash or hickory, which resists splitting better than softwoods.
If your hoe has a stirrup or offset blade, ensure the new handle aligns with the blade’s angle. Mismatched angles can make the hoe difficult to control. Test-fit the handle before finalizing the attachment to confirm proper alignment and comfort during use.
For gardeners with ergonomic concerns, consider handles wrapped in foam grips or made from composite materials. These reduce hand fatigue during long gardening sessions. Brands like Fiskars and Radiant offer ergonomic options designed for comfort and durability.
Once you’ve chosen your handle, sand any rough edges to prevent splinters. If using a wooden handle, apply a coat of linseed oil to protect it from moisture and extend its lifespan. For fiberglass or composite handles, skip the oil and focus on securing the attachment points tightly.
Before attaching the new handle, double-check that all fasteners are included and the right size. A loose handle can slip during use, creating a safety hazard. Tighten screws or pegs firmly, but avoid over-torquing, which can strip threads or crack the handle.
With your tools gathered and handle selected, you’re ready to proceed with the replacement. The next steps will guide you through attaching the handle securely, ensuring your hoe is ready for another season of efficient gardening.
Best garden hoe handle materials compared: durability vs. comfort
Choosing the right garden hoe handle can transform your weeding experience from a chore to a breeze. The material affects durability, ergonomics, and even how much force you can apply while working. Whether you're tackling heavy-duty weeding or precision edging, the handle material makes a surprising difference.
Not all handles are created equal—some last years under harsh conditions, while others wear out after a single season. My garden has seen it all: splintering wood from moisture, cracked fiberglass from dropped hoes, and ergonomic grips that disappear after intense use.
Let’s break down the top three materials so you can make an informed choice for your next replacement.
Garden Hoe Handle Materials Compared
Wood
- Pros: Natural grip, eco-friendly, traditional feel
- Cons: Splinters, warps with moisture, requires sealing
Fiberglass
- Pros: Lightweight, rust-resistant, budget-friendly
- Cons: Brittle, can crack under heavy impact, less grip
Ergonomic
- Pros: Reduces hand fatigue, cushioned grip, modern design
- Cons: Higher cost, may wear out faster with intense use
For heavy-duty tasks like breaking up compacted soil or removing stubborn weeds, I recommend wooden handles. They offer superior shock absorption and a classic feel, but they do require seasoning and sealing to prevent rot.
My favorite is ash or hickory, which stands up to moisture better than softer woods like pine.
If you're on a budget or need a lightweight option, fiberglass handles are a solid choice. They won’t rust like metal and are easy to find at garden centers.
However, they lack the grip and durability of wood, so I only use them for light weeding or edging tasks. Just be careful—dropping the hoe can cause them to snap unexpectedly.
For those of us who spend hours weeding or have joint issues, ergonomic handles are a game-changer. They’re designed to reduce hand strain and often include cushioned grips or angled designs.
The trade-off? They tend to be more expensive and may not hold up as long under extreme conditions. I’ve found that foam-wrapped handles last longer than those with just rubber grips.
When selecting a handle, consider your garden’s specific needs. Do you work in wet soil often? Wood might be your best bet. Do you prefer quick, light tasks? Fiberglass could save you money.
Or are you prioritizing comfort during long sessions? Ergonomic handles will pay off in the long run. My personal go-to is a wooden handle with a modern ergonomic grip—the best of both worlds!
Pro tip: If you’re unsure, test a few materials before committing. Visit a garden center and ask to hold different handles while pretending to weed. The right fit will feel natural and secure in your hands, making your gardening tasks easier and more enjoyable. Happy hoeing!