
Picking
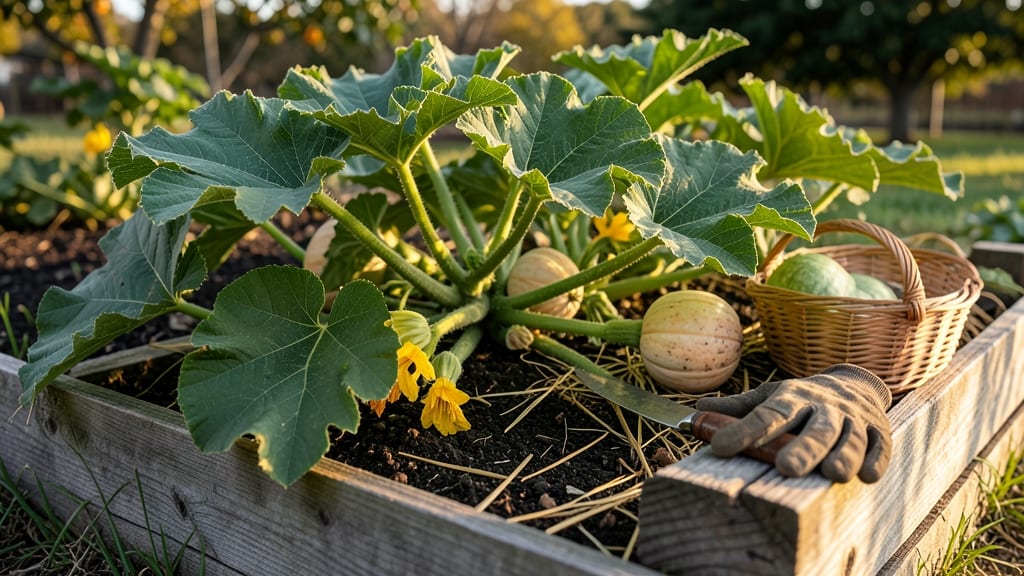
Harvesting butternut squash from the garden at the right time means the difference between a sweet, flavorful prize and a tough, bland disappointment.
Picture this: you’ve nurtured your plants all season, and now the vines are yellowing, but you’re not sure if the squash is ready. One wrong move, and you’ll either end up with underripe fruit that’s too soft or overripe squash that spoils faster.
The good news? There are three simple tests—skin hardness, seed chamber color, and stem dryness—that take the guesswork out of timing.
Knowing when to harvest isn’t just about avoiding waste; it’s about unlocking that rich, nutty flavor that makes butternut squash a kitchen staple. In this guide, I’ll walk you through the exact signs to look for, plus what to do if your squash ripens too late in the season.
By the end, you’ll confidently pick your butternut squash at peak ripeness—just in time to enjoy it before the first frost hits. Let’s get started.
3 Reliable tests to determine perfect butternut squash harvest time
Timing the harvest of your butternut squash is everything—pick too early, and you'll get bland, watery flesh. Harvest too late, and you risk frost damage or overripe squash. The key lies in three simple but foolproof tests that reveal when your squash has reached its peak.
Each method works independently, so use all three for absolute confidence in your harvest timing.
First, let's clarify why these tests matter. Butternut squash doesn't ripen like tomatoes or peppers—it matures gradually, and its sweetness and texture depend entirely on proper ripeness. The skin color, seed chamber, and stem condition all change subtly but dramatically as the fruit nears perfection.
Ignoring these cues often leads to disappointing results, whether your squash is too soft or bitter.
Here's the crucial part: these tests work best when applied together. For example, a squash might pass the skin color test but fail the seed chamber test if harvested too soon.
Understanding when to use each test—and what to watch for—will ensure you never miss the sweet spot of harvest readiness.
- Look for a dull tan color—not shiny or green. The rind should feel hard to puncture with your fingernail.
- Press gently: a ripe squash feels dense and firm, not spongy or soft.
- Use a penlight to check for green streaks—any remaining green means it needs more time.
- Use a sharp knife to cut a small circle (1 inch) in the squash's blossom end.
- Check the seed cavity: seeds should be plump and fully formed, not shriveled or hollow.
- The flesh near seeds should be firm and orange, not pale or watery.
- The stem near the squash should shrink and dry, turning brown and papery.
- Vines should yellow and die back, signaling the plant is redirecting energy to the fruit.
- If the stem snaps easily when pulled, the squash is ready—this is the final confirmation.
Let's start with the skin color test, the most visible indicator of ripeness. A butternut squash at harvest time should have a dull tan skin—not the bright orange you might expect. The rind should feel tough enough that you can't puncture it with your fingernail.
This hardness is your first sign that the squash has developed its signature sweetness and dense texture. Pro tip: avoid harvesting if the skin still has green streaks, as these indicate the squash needs more time on the vine.
Next, the seed chamber test reveals what's happening inside the squash. Cut a small circle (about 1 inch) in the blossom end—the opposite side of the stem—and peek inside. The seeds should be plump and fully formed, not shriveled or hollow.
If the seeds look underdeveloped, the squash isn't ready yet. This test is especially useful for gardeners who want to ensure their squash has reached its peak flavor potential, as underripe seeds often mean underripe flesh.
The stem drying test is often overlooked but is one of the most reliable indicators. As the squash matures, the stem near the fruit will shrink and dry out, turning brown and papery.
This change signals that the plant is no longer feeding the squash and that it's time to harvest. Pay attention to the vines as well: they should be yellowing and dying back, a clear sign that the plant is redirecting its energy to the fruit.
If the stem snaps easily when you pull it, that's your final green light.
Common mistakes can throw off even the most experienced gardeners. One frequent error is harvesting based solely on size. A large squash isn't necessarily ripe—it could just be overgrown. Another mistake is ignoring the vine condition, which can lead to picking squash too early or too late.
Always use all three tests together to avoid these pitfalls. For example, a squash might look ripe by color but fail the seed chamber test, meaning it needs more time on the vine.
Seasonal factors also play a role in harvest timing. In cooler climates, butternut squash should be harvested before the first frost, typically between late September and early October. If frost is imminent, prioritize harvesting squash that have passed all three tests, even if others aren't quite ready.
Remember, frost-damaged squash will spoil quickly, so timing is critical. In warmer climates, you may have more flexibility, but always monitor the vine condition and skin hardness.
Once you've confirmed your squash is ready, harvest it carefully using a sharp knife or pruners, leaving a 1-inch stem attached. This stem helps the squash cure properly, extending its shelf life. After harvesting, let your squash cure in a dry, shady place for about 10 days.
This curing process enhances flavor and firmness, making your squash even more delicious. Store cured squash in a cool, dark place for up to three months.
Mastering these three tests will transform your butternut squash harvest from a guessing game into a rewarding, predictable process.
The next time you're standing in your garden, unsure whether to pick that squash, just remember: dull tan skin, plump seeds, and a dry stem are your golden tickets to perfect butternut squash. Happy harvesting! 🎃
How to handle late-season butternut squash: storage tips for maximum shelf life
Late-season butternut squash can still yield delicious, long-lasting harvests if handled correctly. When frost looms but your squash isn't quite ready, don't panic—proper curing and storage can preserve flavor and texture for months. The key is acting fast once you've confirmed ripeness, even if it means harvesting slightly early.
For squash that ripens too close to first frost dates, prioritize curing over immediate storage. A well-cured butternut develops deeper flavor and a tougher skin that resists rot.
Skip curing only if your squash is already hard-skinned and frost is imminent—store it immediately in a cool, dark place instead.
| Storage Method | Duration | Ideal Conditions | Best For |
|---|---|---|---|
| Short-Term (Fridge) | 1–4 weeks | 50–55°F, 80–90% humidity | Emergency frost storage |
| Long-Term (Cool/Dry) | 2–6 months | 50–55°F, 50–70% humidity | Fully cured squash |
| Curing Process | 7–10 days | 80–85°F, indirect sunlight | Pre-storage flavor boost |
To cure your squash, place whole fruits in a warm, dry spot (like a garage or sunny windowsill) for 7–10 days. Avoid direct sun, which can cause skin scarring or uneven curing.
Rotate squash daily to ensure even exposure. Once cured, store in a cool, dark place with good airflow—basements or root cellars work perfectly.
Humidity control is critical for long-term storage. Too much moisture leads to mold, while too little causes shriveling. Aim for 50–70% humidity by using wooden crates with straw or a dehumidifier if needed. Check squash monthly for signs of spoilage like soft spots or mold.
Watch for early spoilage signs like wrinkled skin or mushy texture, which mean it's time to use or compost the squash. Overripe squash can also absorb odors from nearby produce, so store it separately.
For short-term needs, refrigerate whole squash in a plastic bag with holes for up to 4 weeks.
If frost hits before curing completes, harvest immediately and store in the crisper drawer (not the freezer) to slow ripening. Use these squash first, as their flavor and texture won't be optimal for long-term storage.
With proper care, your late-season butternut squash can last well into winter, providing homegrown goodness when fresh produce is scarce.