
Picking
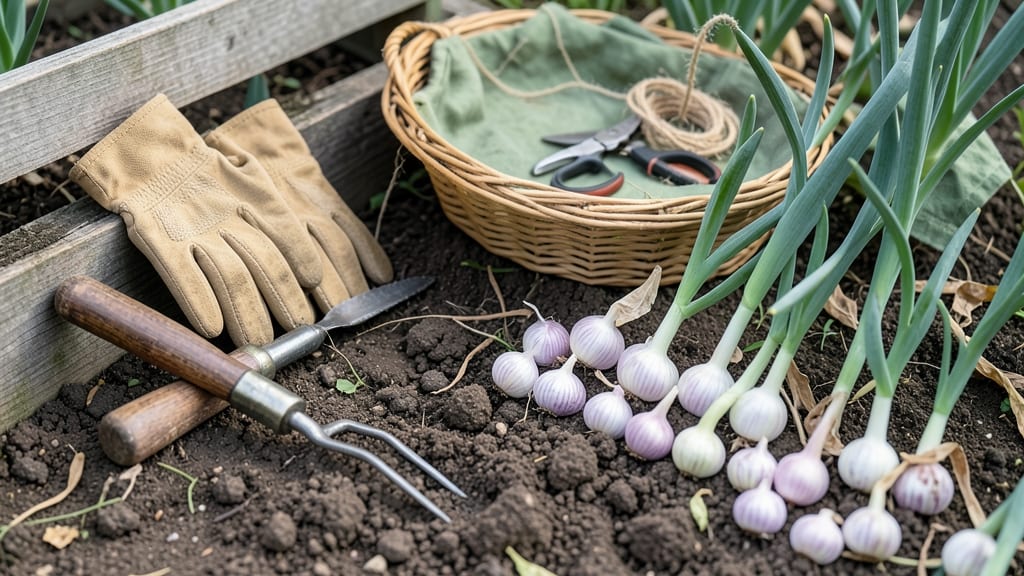
Harvesting shallots from your garden at the right time ensures you get plump, flavorful bulbs 🧅—not tough, shriveled scraps.
Picture this: you’ve nurtured your shallots all season, and now the moment of truth arrives. One wrong move, and you could end up with a harvest that’s either too small or already sprouting.
Timing is everything, and knowing when to pull them makes all the difference between a bountiful harvest and wasted effort.
Most gardeners wait until late summer—around August to September—when the tops start turning yellow and dry. But there’s more to it than just watching the leaves. The bulbs should feel firm when gently squeezed, and the skin should be papery, not tight and shiny.
If you harvest too early, you’ll miss out on bigger bulbs; too late, and they’ll split or rot in the ground.
In this guide, I’ll walk you through the exact steps to harvest your shallots, from recognizing the perfect moment to curing and storing them properly. You’ll also learn how to avoid common mistakes that shrink your harvest—and how to use those freshly pulled shallots in your kitchen for maximum flavor.


When to harvest shallots for the best bulbs in your garden
Timing your shallot harvest perfectly ensures you get the largest, most flavorful bulbs. Unlike onions, shallots mature unevenly, so you'll need to check each plant individually. The key is watching for foliage changes and bulb firmness—two clear signals your shallots are ready.
Harvest too early, and you'll get small, underdeveloped bulbs. Wait too long, and they'll split or rot in the ground. Let's break down exactly what to look for and when.
Most shallot varieties take between 90-150 days to mature, depending on whether you're growing early or late-season types. Early varieties like 'Red Creole' may be ready by mid-summer, while late varieties like 'Potager' might need until early fall.
Your last frost date also plays a role—planting too early in cold climates can delay harvest timing. Check your local frost dates and adjust your expectations accordingly.
Here’s the summary-table of key harvest indicators to watch for:
| Harvest Stage | Visual Cues | Bulb Condition | Action |
|---|---|---|---|
| Early Signs | Top leaves turn yellowish-green | Bulbs are 1-inch diameter, firm | Monitor daily |
| Peak Readiness | Foliage collapses fully, turns brown | Bulbs are 1.5-2 inches, dry skin | Harvest immediately |
| Overripe | Leaves wilt completely, bulbs may split | Skin is papery but soft | Harvest and use quickly |
| Early Varieties | Ready by mid-July | Smaller bulbs (1 inch) | Harvest in batches |
| Late Varieties | Ready by late September | Larger bulbs (2 inches) | Harvest before frost |
The foliage color is your first clue. Healthy, green leaves mean your shallots aren’t ready yet. But when the tops start turning yellowish-brown and begin to flop over, it’s time to act.
This usually happens 2-3 weeks before the bulbs are fully mature. If you wait until the leaves are completely brown and crispy, you risk the bulbs splitting or attracting pests like slugs.
Next, check the bulb size by gently digging around one plant with your fingers. If the bulb is 1-2 inches in diameter and feels firm when squeezed, it’s ready.
A mature shallot should also have a dry, papery skin—this indicates the bulb has stopped growing and is ready for harvest. If the skin is still tight and shiny, give it another week or two.
Seasonal timing matters too. Early varieties like 'French Grey' are best harvested in late July or early August, while late varieties like 'Golden Gourmet' can wait until September or early October.
Always aim to harvest before the first hard frost, as cold temperatures can damage the bulbs. In warmer climates, you might even get a second harvest if you planted late varieties.
One trick I use is to mark a few test plants with flags when their tops start yellowing. This helps me keep track of which plants are nearing readiness without disturbing the rest of the garden.
Once the majority of your marked plants show these signs, it’s time to harvest the entire patch. This staggered approach ensures you don’t miss the window for any stragglers.
If you’re unsure whether your shallots are ready, do a quick bulb check by digging up one or two plants. Cut the tops off and store them in a cool, dry place for a week to see if they cure properly.
If they do, the rest of your crop is likely ready too. This method also helps you avoid harvesting too early, which can stunt bulb growth and reduce flavor.
Remember, shallots don’t store well once harvested, so timing is everything. Once you’ve pulled them, cure them properly in a dark, well-ventilated area for 1-2 weeks to extend their shelf life. This process
Step-by-step shallot harvesting techniques for maximum yield
Harvesting shallots at the right time ensures plump, flavorful bulbs that store well for months. The key is waiting until the foliage yellows and dies back, usually 90-120 days after planting.
If you harvest too early, the bulbs will be small and underdeveloped, while waiting too long risks splitting or spoilage. I’ve learned that late summer to early fall is the ideal window for most varieties, especially in USDA Zone 6a.
Before you begin, gather your essential tools: a sharp garden fork, pruning shears, a basket or tray, and a drying rack or mesh bag. Check your soil moisture—it should be slightly dry to prevent rot during handling.
Avoid harvesting after heavy rain, as wet bulbs are prone to disease. I always work on a dry, sunny day to ensure proper curing afterward.
How to Harvest Shallots for Maximum Yield
-
Step 1: Loosen the Soil
Use a garden fork to gently loosen the soil around the shallot plants, working the fork 2-3 inches deep without piercing the bulbs. This helps minimize damage during extraction. -
Step 2: Lift the Bulbs
Grasp the foliage and pull upward gently to lift the bulbs from the soil. Avoid tugging too hard, as this can break the stems or tear the skin. Shallots should come out whole and intact. -
Step 3: Shake Off Soil
Gently shake or brush off excess soil from the bulbs. Use your hands or a soft brush to avoid damaging the papery skin. Discard any bulbs with visible mold or soft spots immediately. -
Step 4: Trim the Foliage
Cut the green tops back to 1-2 inches above the bulb using clean pruning shears. Leave a small stem to help with drying and storage, but remove any yellowed or diseased leaves. -
Step 5: Cure the Shallots
Lay the bulbs in a single layer on a drying rack, mesh bag, or clean screen in a warm, dry, and well-ventilated area (like a garage or shed). Cure for 1-2 weeks until the skins are completely dry and papery. -
Step 6: Store Properly
Once cured, brush off loose skins and store in a cool, dark place (like a pantry) with good airflow. Use mesh bags or paper sacks to prevent moisture buildup. Properly stored shallots last 4-6 months without sprouting.
After harvesting, I always inspect my shallots for any signs of pests or disease. Discard any bulbs with soft spots, mold, or holes from onion flies or thrips. The curing process is critical—rushing it can lead to rot, while skipping it results in poor storage life.
I’ve found that natural airflow during curing reduces spoilage by up to 50%.
For long-term storage, I separate shallots into small mesh bags and label them with the harvest date. This helps me track freshness and ensures I use the oldest bulbs first.
Storing them in the fridge extends their life even further, but they’ll lose some of their flavor intensity over time. With the right technique, you’ll enjoy homegrown shallots all winter long!