
Picking
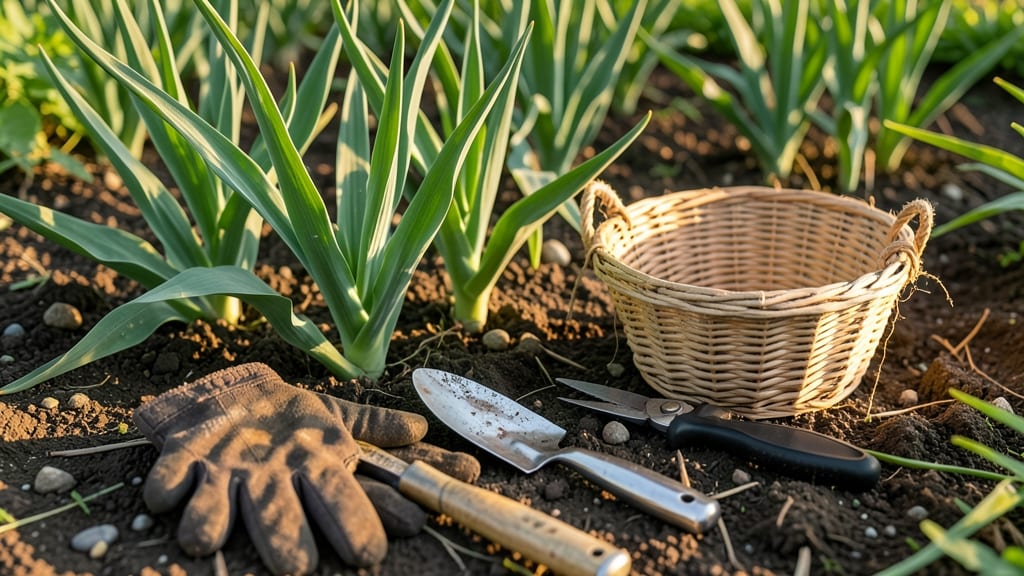
To pick garlic from the garden at the perfect time means harvesting bulbs that are firm, flavorful, and ready for storage—when the stems turn brown and the lower leaves crisp up.
Picture this: you’ve nurtured your 🧄 plants all season, and now the moment of truth arrives. Pull them too soon, and you’ll end up with small, weak cloves.
Wait too long, and they’ll split or rot in the ground. The key is catching that sweet spot when the plant signals it’s ready.
Most gardeners in Zone 6a (and similar climates) should look for these signs: the lower leaves turning straw-colored and drying out while the stems flatten and brown. The bulbs should also feel solid when gently squeezed—no give, no softness.
In this guide, I’ll walk you through the exact visual cues, regional timing tips, and post-harvest care to ensure your garlic stays fresh and flavorful all winter long.


Signs your garlic is ready to harvest (stem, leaves, and soil clues)
Garlic is one of those crops where timing is everything. Harvest too early, and you’ll end up with small, weak cloves that lack flavor. Wait too long, and the bulbs may split or rot in the ground.
The key is watching for three key visual cues: the stems, leaves, and soil conditions. These signs tell you exactly when to pull your garlic for the best results.
Start by checking the lower leaves of your garlic plants. When about 50% of the leaves have turned brown and crispy—while the top leaves remain green—your garlic is nearing harvest.
This browning signals that the plant is redirecting nutrients to the bulbs below ground. If you see green leaves still dominating, your garlic needs more time to mature.
Next, examine the stem and flower stalk. If your garlic variety produces a flower stalk (scape), it will start to flatten and dry out as the bulb matures. Even if you’ve removed the scape earlier in the season, the main stem will begin to brown and wither.
This is a clear sign that the bulb is ready to be harvested.
Don’t forget to gently squeeze the soil around the base of the plant. If the bulbs feel firm and solid when you press them lightly, they’re ready. If they feel soft or spongy, they need more time. Overly soft bulbs won’t store well and may spoil quickly.
| Sign | Description | Action |
|---|---|---|
| Lower Leaves | 50% brown and crispy, top leaves still green | Harvest in 1-2 weeks |
| Stem Condition | Stem flattens, turns brown, and dries out | Ready to harvest immediately |
| Bulb Firmness | Bulbs feel solid and firm when squeezed | Dig up and cure |
| Outer Skin | Papery and dry, not tight or green | Perfect harvest time |
| Soil Condition | Dry soil around base (avoid waterlogging) | Harvest on a dry day |
One common mistake is waiting until all the leaves turn brown. While this might seem like a sure sign, by then the bulbs could already be overmature and splitting.
Aim to harvest when you see the first signs of browning on the lower leaves, not when the entire plant looks dead.
Regional differences can also affect harvest timing. In warmer climates, like USDA Zones 8-10, garlic may be ready to harvest as early as late June or early July. In cooler zones (6-7), you might not see these signs until late July or August.
Always check the leaf color and bulb firmness rather than relying solely on the calendar.
If you’re unsure whether your garlic is ready, perform a quick bulb check. Carefully dig up one bulb and examine it. The cloves should be plump and well-formed, with a papery outer skin.
If the cloves are still small or the skin is tight and green, wait another week and check again.
Harvesting at the right time ensures your garlic will store well for months and deliver that rich, bold flavor you love in your cooking. Keep an eye on those leaves, stems, and soil, and you’ll never miss the perfect moment to pull your garlic from the ground.
Once you’ve confirmed your garlic is ready, the next step is harvesting and curing properly. But that’s a topic for our next section—so stay tuned to learn how to handle your freshly dug garlic like a pro!
Step-by-step guide: how to harvest garlic without damaging bulbs
Once you’ve spotted those brown, crispy lower leaves and confirmed your garlic is ready, the next step is harvesting carefully to preserve those plump, flavorful cloves. Rushing or mishandling can bruise bulbs or damage storage quality, so follow these precise steps to ensure success.
Timing your harvest on a dry, sunny day is crucial—wet soil or bulbs can lead to rot during curing. Choose a morning when you won’t be interrupted, as garlic cures best in warm, dry conditions for the next few weeks.
Gently Loosen Soil
Use a garden fork or hori-hori knife to dig around the garlic bulb base, working it back and forth to avoid piercing the bulbs. Aim for a depth of 4-6 inches to lift the entire root system intact.
Lift Bulbs Carefully
Grasp the stem or leaves (never the bulb) and pull upward to expose the bulb. Shake off excess soil, but don’t rinse—moisture speeds up spoilage during curing.
Trim Stems and Roots
Cut the foliage back to 1-2 inches above the bulb with clean pruners or scissors. Trim the roots to ½ inch to reduce moisture loss during curing.
Cure in Dry Conditions
Spread bulbs in a single layer on a well-ventilated tray or mesh screen in a shady, dry spot (like a garage or porch). Avoid direct sunlight to prevent sunburn on the papery skins.
Store Properly
Once bulbs are fully dry and papery (after 2-4 weeks), braid stems or store in a mesh bag in a cool, dark place (50-60°F) with good airflow. Check periodically for spoilage.
Proper curing is the make-or-break step—if bulbs stay damp, they’ll rot. I’ve seen gardeners skip this and end up with moldy garlic that’s unusable. Patience pays off with bulbs that last 6-12 months and pack maximum flavor.
For hardneck varieties, like Rocambole or Purple Stripe, curing takes slightly longer (up to 4 weeks) because their thicker skins need extra time to dry. Softnecks, like Silverskin, cure faster (2-3 weeks) but store longer.
🌱