
Picking
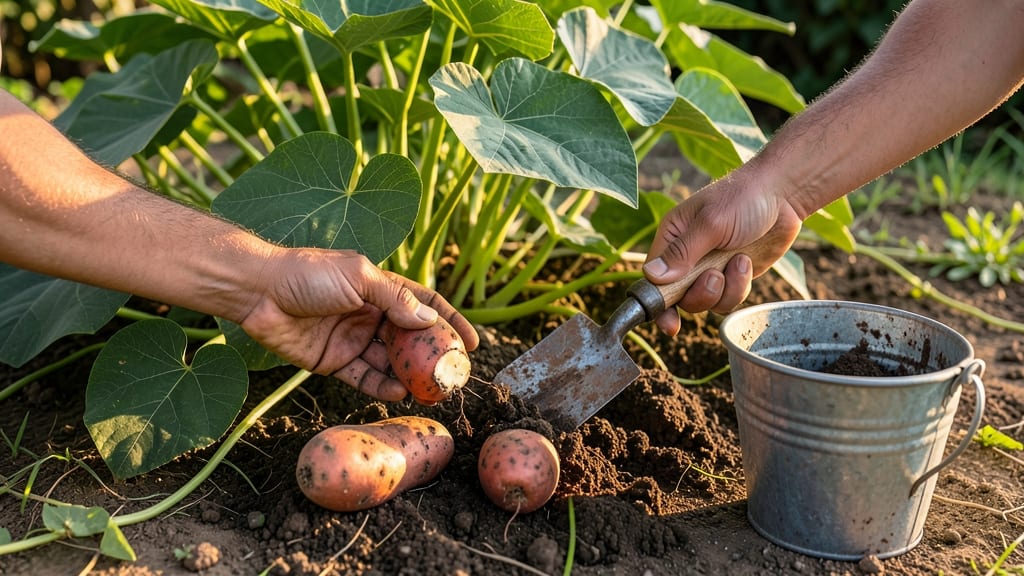
To pick sweet potatoes from the garden at the perfect moment means waiting for the vines to yellow and the skin to slip — a simple test that makes all the difference between sweet, tender tubers and tough, starchy failures.
Sweet potatoes left in the ground too long turn starchy and tough, while harvesting too early means small, underdeveloped tubers — so timing is everything for that perfect harvest.
One wrong move, and you’re left with either a pile of tiny, underripe potatoes or a harvest that’s too fibrous to enjoy.
You’ll know they’re ready when the vines begin to die back and the leaves turn yellow, but the real tell is the skin: if it slips easily when you gently rub it, those tubers are primed for picking.
Below, I’ll walk you through the exact steps to test for maturity, plus the best times to harvest based on your planting window and local climate.
Whether you’re in USDA Zone 6a or further south, this guide covers the ideal harvest window, common mistakes to avoid, and how to store your sweet potatoes for maximum flavor and shelf life. No more guessing — just perfectly timed sweet potatoes every time.


How to use the skin slip test to determine sweet potato harvest time
Sweet potatoes are ready to harvest when they reach peak sweetness and texture, but knowing exactly when to dig them up can be tricky. The skin slip test is the most reliable method to check maturity without damaging your crop.
This simple test helps you avoid underdeveloped tubers or overripe potatoes that become tough and woody. I’ve used this technique for years in my garden, and it’s saved me from harvesting too early or leaving potatoes in the ground too long.
Before you begin, understand that sweet potatoes need 90 to 140 days to mature, depending on the variety. Early varieties may be ready in 90 days, while late varieties can take up to 140 days.
The skin slip test works best when combined with other visual cues, like yellowing vines and dry soil. Let’s dive into the step-by-step process so you can master this essential gardening skill.
Step-by-Step Skin Slip Test for Sweet Potatoes
- 1 Wait for vine decline: Start testing when the vine leaves begin yellowing and wilting. This usually happens 2-3 weeks before harvest. Avoid testing too early, as tubers may not be fully developed.
- 2 Choose a sunny day: Perform the test on a warm, dry day when the soil is slightly dry. Moist soil can give false results, making the skin appear slippery when it’s not ready.
- 3 Gently dig up a test tuber: Use a small hand trowel to carefully dig up a single tuber from the edge of the plant. Avoid damaging nearby tubers during this process.
- 4 Test the skin slip: Hold the tuber between your thumb and forefinger. Gently slide your fingernail across the skin. If the skin slips easily under your nail, the tuber isn’t ready yet. If it resists and feels tough, it’s time to harvest.
- 5 Check tuber size: A mature sweet potato should be 3-6 inches long and feel firm to the touch. If it’s small or still soft, wait 1-2 weeks before testing again.
- 6 Harvest the entire plant: Once the test tuber passes, it’s time to harvest. Use a fork or shovel to gently loosen the soil around the plant. Pull the vines upward to expose the tubers.
If your test tuber fails the skin slip test, don’t panic. Simply replant it and wait another 1-2 weeks before retesting. Sweet potatoes continue to mature in the ground, so giving them extra time often results in a better harvest.
Just be mindful of frost dates in your region, as cold temperatures can damage the tubers before they’re fully mature.
One common mistake I see is testing too early in the season. Sweet potatoes need time to develop a thick, tough skin, which is a key indicator of maturity.
If you test a tuber too soon, the skin will feel soft and slippery, leading you to believe it’s ready when it’s not. Patience is key—let the plant do its work before jumping to conclusions.
Another pro tip: Harvest on a dry day to make the process easier. Wet soil sticks to the tubers, increasing the risk of damage. After harvesting, allow the tubers to cure in the sun for 10-14 days.
This process thickens the skin and enhances sweetness, making them last longer in storage. Place them in a warm, well-ventilated area away from direct sunlight.
For gardeners in warmer climates, like Zones 8-10, sweet potatoes can be left in the ground slightly longer. However, even in these regions, the skin slip test remains your best friend.
In cooler climates, like Zones 3-6, aim to harvest before the first frost, which typically occurs in late October or November. Use the skin slip test to time your harvest perfectly, even if it means harvesting a little earlier than you’d like.
Remember, the skin slip test isn’t just about timing—it’s also about quality. Tubers that pass the test will be sweet, firm, and storable for months.
If you’ve been growing sweet potatoes for a while, you’ll start to recognize other signs, like the color of the skin (darker varieties develop a deeper hue) and the sound of the tuber when tapped (a dull thud means maturity).
Combine these cues with the skin slip test for foolproof results every time.
🍠
Sweet potato harvest timeline: months and weather conditions for perfect tubers
Timing your sweet potato harvest correctly ensures sweet, flavorful tubers instead of tough, fibrous ones. Most varieties mature between 90-140 days after planting, but regional climates and frost dates shift this window significantly.
In USDA Zone 6a, where first frost typically arrives in early November, your harvest window narrows to late September through October. For warmer zones (7b+), you may extend harvesting until December.
Early varieties like 'Beauregard' or 'Georgia Jet' mature faster (90-100 days), while late varieties such as 'Bonita' or 'Covington' need the full 120-140 days. Planting date matters too—slips planted in May will harvest in late August to October, while June plantings push harvests to October-November.
Weather plays a critical role. Sweet potatoes need warm soil and dry conditions at harvest to prevent rot. Aim to harvest 2-3 weeks before the first frost—leaving them in cold soil turns tubers mushy.
In rainy climates, wait for a 5-day dry spell before digging. Southern gardeners can often harvest later since frost arrives much later than northern regions.
| Region/Variety | Planting Window | Harvest Window | Key Weather Cues |
|---|---|---|---|
| Northern (Zone 5-6) | Mid-May to early June | Late Sept-October | Wait for 50°F soil temps and dry ground |
| Southern (Zone 7b+) | Late April-July | October-December | Harvest before first frost or when vines yellow |
| Early Varieties (e.g., Beauregard) | May-June | 90-100 days after planting | Test skin slip at 85 days |
| Late Varieties (e.g., Bonita) | May-June | 120-140 days after planting | Wait for full vine dieback |
Adjust your harvest timeline based on soil temperatures. Sweet potatoes thrive in 75-85°F soil but struggle below 60°F. Use a soil thermometer to monitor—if temps drop below 60°F for 3+ days, harvest immediately, even if tubers aren’t fully mature.
In hot climates, vines may die back earlier due to drought stress, so check for skin slip as a secondary cue.
For container-grown sweet potatoes, harvest slightly earlier (10-14 days sooner) since roots have less space to expand. Watch for vines yellowing and leaves curling—these are your first signs.
In short-season areas, opt for early varieties or use black plastic mulch to extend the growing season by 2-3 weeks.
Never harvest after the first frost—cold soil damages tubers, making them watery and inedible. Cure harvested sweet potatoes in a warm (80-85°F), humid (80-85%) space for 5-10 days to develop sweetness. Store cured tubers in a cool (55-60°F), dark place for up to 6 months.