
Tools
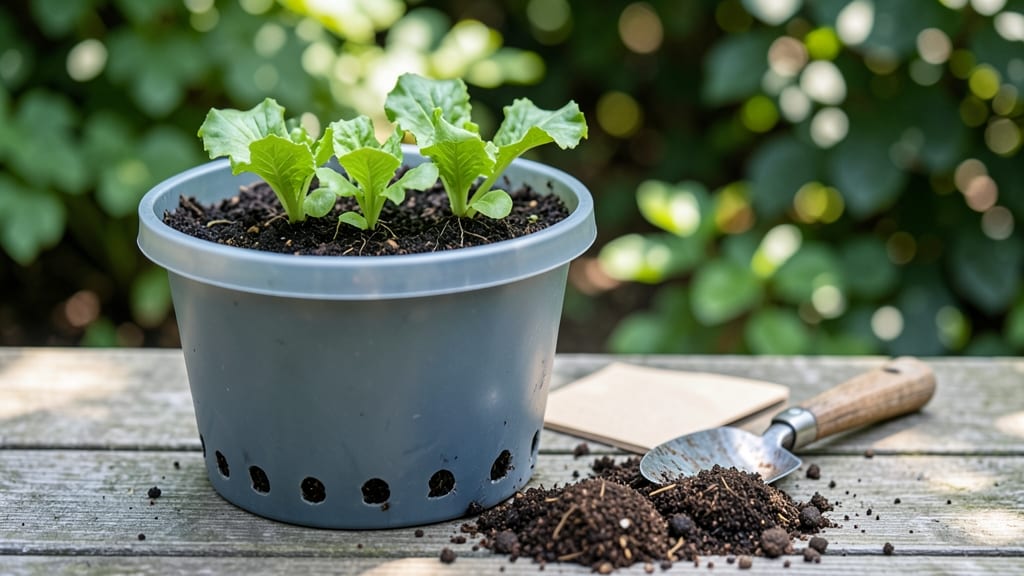
Learning bucket gardening 101 turns even the smallest space into a thriving mini-farm 🌱—no yard required.
Picture this: your balcony bursting with fresh herbs, your windowsill growing crisp lettuce, or your patio hosting a tiny tomato plant—all without sacrificing square footage. This isn’t just gardening; it’s a game-changer for renters, urbanites, and anyone who’s ever dreamed of homegrown veggies but lacked the space.
You’ll discover how to pick the right buckets (drainage is everything!), which plants thrive in small containers, and how to avoid the most common mistakes that kill bucket gardens before they even start. No green thumb needed—just a little know-how and a willingness to get your hands dirty.
By the end, you’ll have a step-by-step plan to transform ordinary buckets into a productive, space-saving garden that yields fresh flavors year-round. Let’s get growing!
How to choose the perfect buckets for your mini garden
Not all buckets are created equal when it comes to growing thriving plants. The right container can make the difference between a lush herb garden and a struggling seedling.
I’ve tested everything from 5-gallon plastic buckets to repurposed fabric grow bags, and here’s what works best for space-efficient gardening. The key factors? Material durability, drainage efficiency, and size flexibility.
Your first decision should be material selection. Each option—plastic, fabric, or metal—brings unique benefits. For example, plastic buckets are lightweight and budget-friendly, while fabric grow bags offer superior airflow to roots.
Let’s break down the pros and cons so you can pick the perfect fit for your mini garden layout.
| Material | Durability | Drainage | Weight | Cost | Best For |
|---|---|---|---|---|---|
| Plastic | High (5-10 years) | Moderate (needs holes) | Light | $ | Herbs, veggies |
| Fabric | Moderate (3-5 years) | Excellent (breathable) | Light | $$ | Root veggies |
| Metal | Low (1-3 years) | Good (if perforated) | Heavy | $$$ | Ornamentals |
Size matters just as much as material. A 5-gallon bucket is ideal for herbs like basil or small lettuce plants, while a 10-gallon container gives tomatoes or peppers room to thrive.
I recommend starting with 5-7 gallon buckets for most vegetable varieties—they’re large enough for roots but easy to move around.
Drainage is non-negotiable. Without proper drainage, your plants will suffocate in soggy soil and develop root rot. If your bucket lacks holes, drill them yourself—aim for 4-6 drainage holes near the bottom.
For extra insurance, add a 1-inch layer of gravel at the bottom before filling with soil. This creates a buffer zone that prevents clogging.
Don’t overlook the importance of bucket stability. A wobbly container can tip over in wind or when you water it, spilling soil and disrupting your plants. I’ve found that adding weighted bases (like cinder blocks) or using stackable containers with wide feet solves this problem.
For vertical gardening, consider wall-mounted brackets that secure buckets firmly in place.
Color plays a subtle but important role. Dark-colored buckets absorb more heat, which can be great for cool-season crops like spinach but may overheat soil for heat-sensitive plants. If you’re growing in hot climates, opt for light-colored or reflective containers to keep roots cool.
I’ve had success with white plastic buckets in my summer garden—they stay cooler and reduce evaporation.
Repurposing buckets is where creativity shines. Old paint buckets, ice cream tubs, or even cleaned food-grade containers can become stylish planters. Just ensure they’re food-safe if growing edibles.
Pro tip: Line the inside with landscape fabric to prevent soil from leaking through seams or cracks. This also helps filter out weeds that might try to sneak in.
For urban gardeners with limited space, consider stackable buckets or hanging planters. I’ve seen creative setups using bucket ladders where each tier holds a different plant—like basil on top and radishes below.
This maximizes vertical space while keeping everything within reach. Just ensure each level gets adequate sunlight and water.
One final tip: Label your buckets! I use waterproof plant tags to track what’s growing where, especially when experimenting with multiple varieties. This saves time and prevents confusion when it’s time to harvest or rotate crops.
A simple marker on the side works too—just make sure it’s UV-resistant so it doesn’t fade in the sun.
With the right bucket, your mini garden can flourish even in the smallest of spaces. Start with a 5-gallon plastic bucket for herbs, add drainage, and watch your green thumb grow! 🌱
Step-by-step bucket gardening layouts for small spaces
When space is limited, bucket gardening becomes your best friend. Whether you have a tiny balcony, a sunny windowsill, or just a patio corner, these layouts maximize every inch. The key is vertical stacking and multi-plant arrangements that thrive together.
I’ve tested these designs with my urban garden, and they consistently deliver fresh herbs, veggies, and flowers—no yard required!
Start with 5-gallon buckets for most vegetables and herbs, but smaller 1-gallon containers work for leafy greens or strawberries. Group plants by their sunlight needs and watering frequency to simplify care.
For example, basil and tomatoes love full sun, while lettuce and spinach prefer partial shade. Stacking buckets vertically saves floor space while creating a lush, layered look.
- 🌱 Vertical Stacking System Step 1
- 🪴 Tiered Patio Layout Step 2
- 🌿 Windowsill Combo Buckets Step 3
- 🌻 Multi-Plant Bucket Arrangement Step 4
Use 3-4 buckets stacked with 12-inch gaps between each. Place the sun-loving plants (like peppers or cherry tomatoes) at the bottom and shade-tolerant plants (like green onions or parsley) at the top. Drill drainage holes in each bucket and place them on saucers to catch runoff.
Arrange buckets on a tiered stand or repurposed shelves. Group herbs like thyme and oregano together—they share similar care needs. Add a self-watering reservoir at the base to keep roots consistently moist. This setup works perfectly for south-facing patios with 6+ hours of sunlight.
Place 1-gallon buckets side by side on a windowsill for leafy greens and microgreens. Use a reflective surface (like aluminum foil) beneath the buckets to maximize light. Pair spinach with radishes—they grow well together and share similar watering needs. Rotate buckets weekly to ensure even light exposure.
Combine companion plants in a single bucket, like bush beans with carrots or marigolds with tomatoes. The beans fix nitrogen in the soil, while marigolds deter pests. Use a 3:1 soil ratio (potting mix to compost) and add a slow-release fertilizer at planting time for steady growth.
For balcony gardens, consider adding a drip irrigation system to automate watering. Hang buckets from racks or attach them to walls using sturdy brackets. My favorite setup combines vertical herbs (like rosemary) with trailing plants (like nasturtiums) for a cascading effect.
Always label your buckets—trust me, you’ll forget which one holds your jalapeños and which has basil!
Pro tip: Rotate your buckets every 2-3 weeks to prevent uneven growth from light exposure. If you’re growing tomatoes or peppers, prune suckers regularly to keep plants compact. With these layouts, you’ll turn even the smallest space into a productive, low-maintenance oasis—no green thumb required!