
Tools
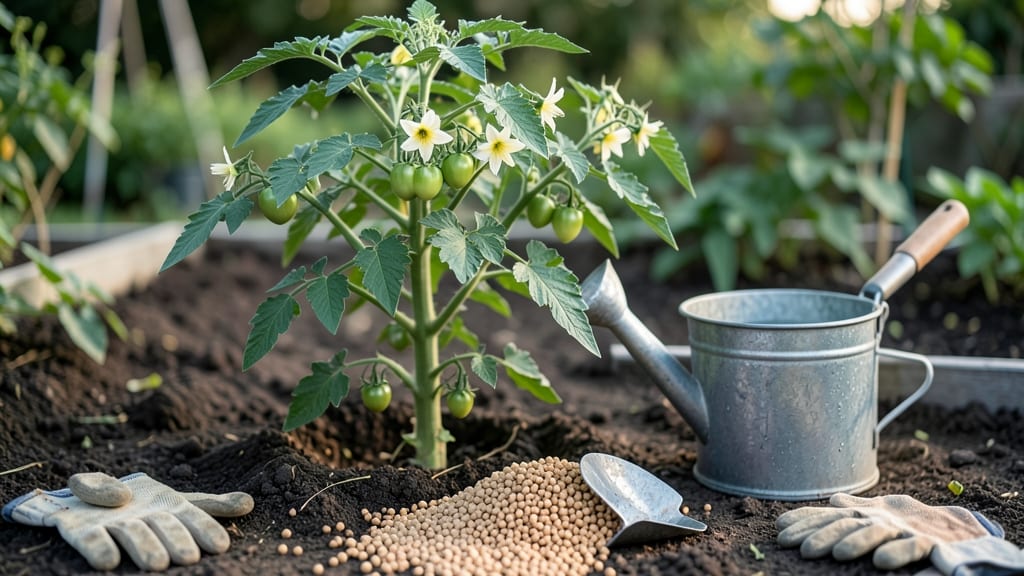
Learning how to use bone meal in your garden gives your General Garden Plants 🌱 a fast phosphorus boost for stronger roots and bigger blooms—when you apply it the right way.
Struggling with weak blooms or stunted root growth? Bone meal could be your garden’s secret weapon—but only if you use it right.
This organic fertilizer works fastest when worked into the soil before planting or sprinkled around flowering plants, but timing and dosage make all the difference.
Below, I’ll walk you through exactly how much to use, when to apply it for maximum results, and which plants benefit most (plus a few that don’t need it).
What is bone meal and why your plants need its phosphorus boost
If your garden plants are struggling to produce vibrant blooms or strong roots, you might be missing a key nutrient: phosphorus. Bone meal is a powerhouse fertilizer packed with this essential mineral, derived from steamed animal bones.
It’s an organic option that releases phosphorus slowly, making it perfect for long-term plant health. Unlike synthetic fertilizers, bone meal breaks down naturally, enriching your soil without harsh chemicals.
Phosphorus plays a critical role in root development and flowering. Without enough of it, plants may produce fewer blooms or weak stems. Bone meal delivers a concentrated dose of phosphorus (typically 12-15% phosphorus by weight), helping plants establish strong root systems and transition smoothly into their flowering stages.
Think of it as a growth multiplier for your favorite blooming plants and vegetables.
But how does bone meal compare to other phosphorus sources? Unlike rock phosphate, which is less soluble and releases phosphorus slowly over years, bone meal provides a more immediate boost. It’s also gentler than superphosphate, which can sometimes cause soil pH imbalances.
Bone meal is ideal for seed-starting mixes, transplanting, and prepping plants for flowering, making it a versatile addition to any gardener’s toolkit.
Here’s a quick breakdown of how bone meal stacks up against other phosphorus sources:
| Fertilizer Type | Phosphorus Content | Release Speed | Best Use Case |
|---|---|---|---|
| Bone Meal | 12-15% | Moderate (weeks to months) | Seed-starting, flowering plants |
| Rock Phosphate | 12-20% | Slow (years) | Long-term soil enrichment |
| Superphosphate | 16-20% | Fast (weeks) | Quick fixes, high-phosphorus needs |
The best time to use bone meal is during critical growth phases. For seedlings, mix it into the soil before planting to encourage strong root establishment. When transplanting, sprinkle a small amount around the roots to reduce shock.
And for flowering plants, apply bone meal 2-4 weeks before buds appear to maximize bloom production. This timing ensures your plants have the phosphorus they need when they need it most.
One common misconception is that bone meal is only for flowering plants. While it’s true that roses, tomatoes, and peppers benefit greatly, bone meal also supports root crops like carrots and beets by promoting deeper, healthier roots.
Even bulbs, such as tulips and daffodils, thrive when bone meal is worked into the soil before planting. It’s a versatile fertilizer that can be tailored to almost any garden need.
Before you reach for bone meal, though, consider your soil’s current phosphorus levels. If your soil test shows high phosphorus, you might not need additional applications. Overuse can lead to soil imbalances or even phosphorus buildup, which can harm beneficial microbes.
Always start with a soil test to determine the right amount for your garden’s specific needs.
For organic gardeners, bone meal is a fantastic choice because it’s derived from natural sources and breaks down without leaving harmful residues. It’s also a cost-effective way to boost phosphorus compared to synthetic alternatives.
Just remember to wear gloves when handling it, as bone meal can be dusty and may irritate sensitive skin. Store it in a cool, dry place to maintain its potency.
Incorporating bone meal into your gardening routine can transform weak, underperforming plants into thriving, blooming powerhouses. Whether you’re growing vegetables, flowers, or bulbs, this phosphorus-rich fertilizer is a game-changer for any garden. Give it a try and watch your plants reach new heights—literally and figuratively!
Step-by-step guide: how to apply bone meal for maximum results
Bone meal is a powerhouse for root development and flowering plants, but its effectiveness depends on proper application. Whether you're prepping soil for seedlings or side-dressing established plants, timing and dosage matter. Let’s break it down so you get lush blooms and strong roots without overdoing it.
First, decide when to apply bone meal: pre-planting (mixed into soil) or side-dressing (applied mid-season). For seedlings or bulbs, pre-planting is best—work 1–2 tablespoons per plant into the top 6 inches of soil.
For flowering plants like roses or tomatoes, side-dress with 1 tablespoon per plant 2–4 weeks before blooming.
- 1 Choose the Right Time: Apply bone meal 2–4 weeks before flowering or at planting for root crops. Avoid using it during active fruiting to prevent nutrient burn.
- 2 Pre-Planting Method: Mix 1–2 tablespoons per plant into the top 6 inches of soil. For large garden beds, use 1 cup per 10 sq ft. Water lightly to help it settle.
- 3 Side-Dressing: For established plants, scratch 1 tablespoon into the soil around the base (avoid touching stems). Water deeply afterward to activate nutrients.
- 4 Safety First: Wear gloves and a dust mask—bone meal is high in phosphorus and can irritate skin or lungs. Store it in a dry, sealed container away from pets or kids.
- 5 Watch for Overuse: Yellowing leaves or burnt roots mean you’ve overdone it. If this happens, flush the soil with water and wait 4–6 weeks before reapplying.
Bone meal works best in well-draining soil with a pH between 6.0–7.5. If your soil is clay-heavy, mix it with compost first to improve aeration. For container gardens, reduce the dose to ½ tablespoon per plant—containers dry out faster, and excess phosphorus can harm roots.
Timing is everything: apply bone meal early in the season for root crops like carrots or late spring for flowering plants. Avoid using it in fall, as the slow-release phosphorus may not break down before winter. Always water thoroughly after application to help nutrients penetrate the soil.
For maximum results, pair bone meal with compost or kelp meal to balance nutrients. Monitor your plants closely—healthy roots and vibrant blooms are your reward for getting the timing and dosage right! 🌷