
Picking
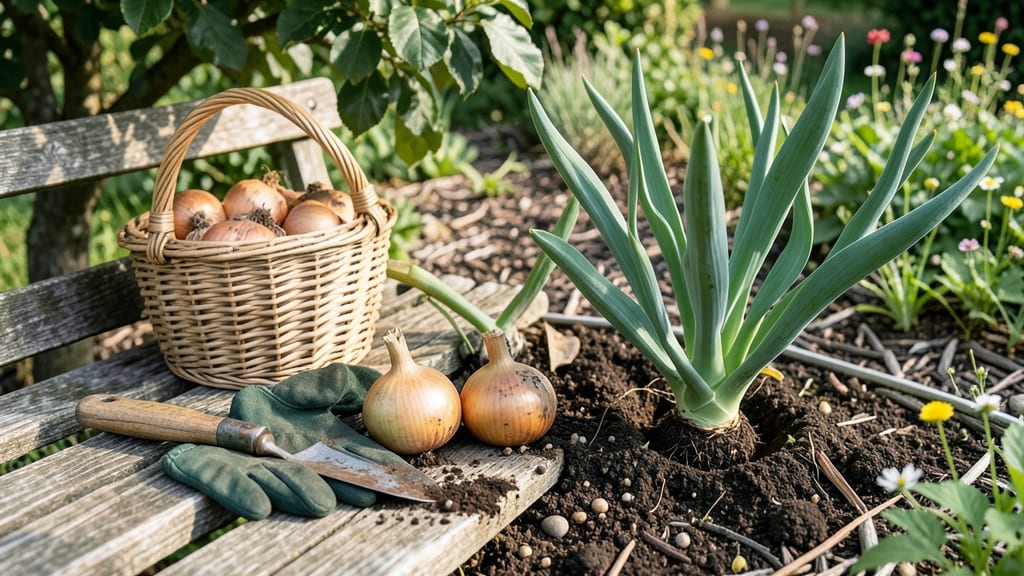
Knowing when to harvest onions from the garden is the key to storing them all winter long.
Picture this: you’ve spent months nurturing your 🧅 crop, only to pull them too soon—soft, pithy, and destined for the compost. Or worse, you wait too long, and the bulbs split or rot in the ground.
The difference between a pantry full of sweet, firm onions and a disappointing harvest often comes down to timing.
Most gardeners in Zone 6a can expect to harvest between July and August, but the real clues lie in the plant itself—not the calendar.
Below, I’ll walk you through the 5 foolproof signs your onions are ready, plus how to handle them after the pull to keep them fresh for months.
Whether you’re growing yellows, reds, or sweet onions, these tips will save you from the two biggest mistakes: harvesting too early (and ending up with tiny, weak bulbs) or waiting too long (and losing flavor and storage potential). Let’s get those onions out of the ground at the perfect moment.


5 Key signs your onions are ready for harvest (size, color & flavor guide)
Knowing when to harvest onions can transform your garden from a mediocre crop to a pantry-stocking success. The difference between underripe onions and perfectly mature bulbs often comes down to watching for these five key signs.
Whether you're growing yellow, red, or white onions, these visual and physical cues will help you time your harvest perfectly.
Timing matters because onions harvested too early will be small and pungent, while those left too long in the ground may split or rot. The ideal moment balances size, color, and flavor, ensuring your onions store well and taste delicious.
Let’s break down what to look for in your garden beds.
| Sign | Description | What to Do | Best For |
|---|---|---|---|
| 1. Leaf Color Change | Tops turn yellow-brown and begin to flop over (not just wilt). | Harvest within 3-5 days to prevent splitting. | All bulb onions |
| 2. Bulb Size | Bulbs reach 1-2 inches in diameter and feel firm when gently squeezed. | Dig carefully to avoid damaging skins. | Storage onions |
| 3. Neck Tightening | Neck (stem) tightens and skin becomes dry and papery. | Cure immediately after harvest for best storage. | Long-storage varieties |
| 4. Flavor Test | Slice a small bulb—sharp flavor means it’s ready; mild means wait longer. | Use immediately if flavor is perfect. | Green onions & fresh varieties |
| 5. Seasonal Cues | Late summer (after 100-120 days of growth) for most varieties. | Adjust for climate—harvest earlier in hot regions. | All onions |
First, pay attention to the top leaves—when they start turning yellow-brown and flop over, it’s a clear signal that the bulb below is maturing. This change happens naturally as the plant redirects energy from leaf growth to bulb development.
For green onions, you can harvest earlier when the scapes (flower stalks) appear or when the leaves reach your desired length.
Next, check the bulb size. Ideal harvest size is typically 1-2 inches in diameter, though this varies slightly by variety. Yellow onions like 'Texas Early White' often reach this size faster than red onions like 'Red Creole'.
If you’re growing onions for immediate use, you can harvest slightly smaller bulbs for milder flavor, but larger bulbs store better.
Don’t forget to test the flavor—this is the ultimate indicator. Cut a small slice from a bulb: if it’s sharp and pungent, it’s ready for harvest. If it tastes mild and watery, give it another week or two.
Sweet onions like Vidalias will have a more delicate taste when fully mature, while storage onions should be firm and robust.
Seasonal timing also plays a role. Most onion varieties take 100-120 days to mature, so plan your harvest for late summer. In hot climates, onions may mature faster and need harvesting earlier to avoid splitting.
In cooler regions, you might extend the season slightly, but avoid letting bulbs sit in the ground past the first frost, as this can damage them.
For green onions, the process is simpler. Harvest when the leaves reach 6-8 inches tall, cutting them just above the soil line. This encourages regrowth, allowing you to harvest the same plant multiple times.
If you notice the scapes (curly flower stalks) emerging, you can harvest those too—they’re delicious when cooked and add a mild onion flavor.
One common mistake is waiting too long, which leads to split bulbs or soft, rotting onions. If you see the tops completely brown and crispy, it’s past the ideal harvest window.
Similarly, harvesting too early results in small, weak bulbs that won’t store well. Balance is key—watch for these signs and act promptly to enjoy the best of your onion harvest.
Pro tip: If you’re unsure, harvest a few test bulbs and taste them. This hands-on approach ensures you’ll never miss the perfect harvest window again. With practice, you’ll develop an eye for spotting these signs quickly, making your onion harvests consistently successful.
How to harvest onions without damaging bulbs: step-by-step techniques
Once your onions show ready-for-harvest signs, the next critical step is pulling them properly to avoid bruising or splitting. The method you choose—digging or hand-pulling—depends on soil conditions and bulb size.
For loose, sandy soil, you can gently hand-pull mature bulbs by grasping the tops, but compacted or clay-heavy soil often requires a garden fork for careful lifting.
Timing matters just as much as technique. Harvesting in the morning after dew dries prevents soil from sticking to bulbs, while avoiding hot afternoons reduces stress on the plants. If you must harvest later in the day, work in the shade to prevent wilting before curing.
⚠️ WARNING: Harvesting Too Late Can Ruin Your Crop
Leaving onions in the ground past their prime causes split bulbs and bitter flavor. If tops turn completely brown and papery, the bulbs may already be overripe and prone to rot. For storage onions, aim to harvest when 50-70% of tops yellow—this ensures peak flavor and longevity.
🌱 Pro Tip: Use a sharp knife to trim tops to 1 inch above the bulb immediately after harvesting to prevent moisture loss.
After removing onions from the soil, brush off excess dirt but avoid washing them—this removes the protective outer layer needed for curing. Lay bulbs in a single layer on a screen or mesh tray in a dry, shaded area with good airflow.
This 2-3 week curing process hardens the skins and extends storage life.
For green onions or scallions, harvest by snipping tops 1-2 inches above the soil when they reach 10-12 inches tall. Unlike storage onions, these regrow when cut properly, allowing for multiple harvests per season. Always use clean, sharp scissors to avoid crushing stems.
If you notice split bulbs or soft spots during harvest, these are signs of overmaturity or disease. Use affected onions immediately in cooking rather than storing them. For uneven bulb sizes, harvest smaller onions first—they ripen faster and may split if left too long.
Store cured onions in a cool, dark place with high humidity (60-70%), like a mesh bag or paper sack. Check bulbs monthly for sprouting or mold—these indicate poor storage conditions. With proper care, your homegrown onions can last 6-8 months or longer.